Monday, May 16, 2011

Trying to organize the disorganized

I will admit I am probably one of the most disorganized people. That being said we had an extra room in the house that we spontaneously decided to turn into and office/studio. My husband is an artist, who draws for a living, and then there is me, who crafts for a living (or at least tries to.)

The house was built in the 70's and hasn't been updated in any way other than some paint and a small addition, so yeah, the house is ugly.  I really hate the dark wood paneling. I hate the people who put it in originally even more.  (This house was built by the original owners who lived in it while building it so nothing in the house is right.)  They glued the darn paneling to the drywall...the drywall does not go over the duct work for the heat so there really is no way to take down the paneling with out having to re-drywall the entire house. My sad solution to this is......get ready for this one....paint the paneling.  Yeah I know painted paneling. Sounds bad huh?  Not really to bad actually. I've already painted the living room a nice light green apple color. The paneling kind of gives it that country feel.
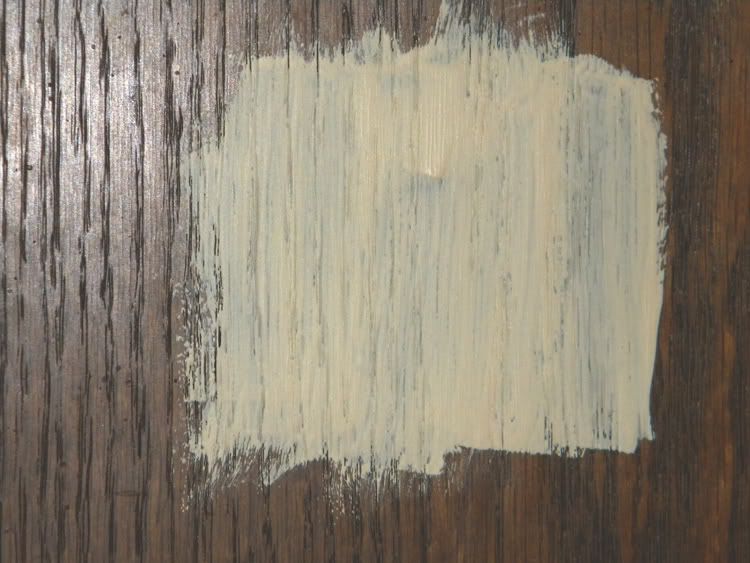
PhotobucketThe color is going to be a nice yellow color, not to bright and not so light that it might as well be white.  We are completely rearranging the room too. The closet is going to be emptied and painted a bright white. A desk will be inserted in to the closet for under storage and then covered with a white cloth. Flood lamps will be placed in the closet and this is where I will be able to take all my photos. I plan to close off the closet with a white curtain so that I can hide it when not in use and then just pull the curtain back when I need to take photos.

We are doing all of this to try to take the best advantage of the space that we can, and to help weed out what we actually need and organize it all.  Big hopes for a very unorganized person. I fear that when it is all done I won't be able to find a thing.  It'll probably take a few weeks and I'll try my best to post in progress pictures. 
Thursday, May 5, 2011

No Garden is Complete Without Signs

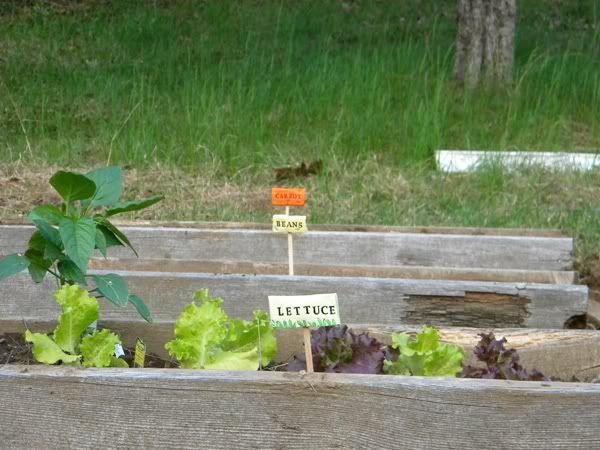
I decided since things really started sprouting in the garden that it was time to make the garden pretty and actually make some signs for the boxes. Right now I am using the empty packet from the seeds to mark what is planted where, and those poor little packets are getting ratty from rain and water. We have tons of polymer clay laying around the house for those....I've gotta sculpt something urges.  We I got the urge to sculpt some little signs for the veggies.  I figured I would just do signs for things in the long boxes to start and see how that goes.
Photobucket

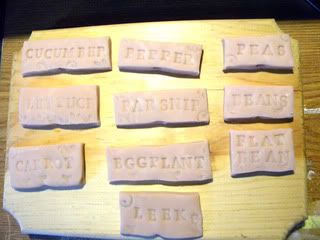
I found some sticks that I could use as holders and started sculpting. I kneaded and kneaded and rolled out and rough cut out some rectangles. I stamped the clay rectangles with letters and designs. They got put in the oven to bake then cool over night and this is what came out.


PhotobucketI decided to leave them rough because I felt that it would be a better fit in the garden if they weren't so polished looking. I want them to look a little imperfect. I went ahead and brushed a white coating/primer on them. (Wishing now that I had used the airbrush or a spray primer for a more even coverage. It might not have taken so many coats of some of the colors to get them even looking.)


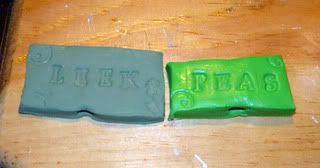
PhotobucketOnce they looked all peaked it was time to decide on a base coat for each of them. This was the tough part. I wanted to color them to go along with the veggies but with SO many green veggies I was at a loss.  I used a few different shades of green that I had to give some variety to the green. There were also few that ended up with odd colors like pink and blue grey.

Photobucket
 Then I had to paint in the details. This was the tough part as some of the stamped parts were small. I had to use a really tiny brush, my favorite a citadel 0000, and lots of Liquitex Flowaid.  If you've never used Flowaid it's great. You mix it into your paint and it allows your paint to flow easily. I use a drop of paint to two small drops of Flowaid, mixed well, to get the paint to flow nicely from the brush and into the tiny indents of the stamped clay. Each one is different from each other. I didn't stamp any two the same.   The one problem I did have toward the end was that during the baking process some of the stick holes shrunk. To fix this I had to whittle away at some of the sticks till they fit in.  I must say that I am very happy with the way they turned out.


                                      They really brighten up the boxes and the garden!
Photobucket